Introduction: Your Blueprint for Decision-Making
Embarking on the journey toward eye bag removal requires navigating three fundamental pillars: financial investment, the surgical experience itself, and the visual transformation you can anticipate. This ultimate guide serves as a detailed blueprint to help you understand each step in depth.
Decoding the Cost: A Significant Investment
The cost of lower blepharoplasty is not a fixed number but a variable influenced by several factors, typically ranging from $4,000 to $10,000+ in the United States.
- Surgeon’s Fee: The largest component. It reflects the surgeon’s expertise, reputation, training, and geographic location. Highly sought-after surgeons in major metropolitan areas command higher fees.
- Anesthesia Fee: The cost for the anesthesiologist or nurse anesthetist and the type of anesthesia used (IV sedation is common; general anesthesia is more costly).
- Facility Fee: The cost of using the operating room in a hospital or an accredited ambulatory surgical center, which includes supplies and nursing staff.
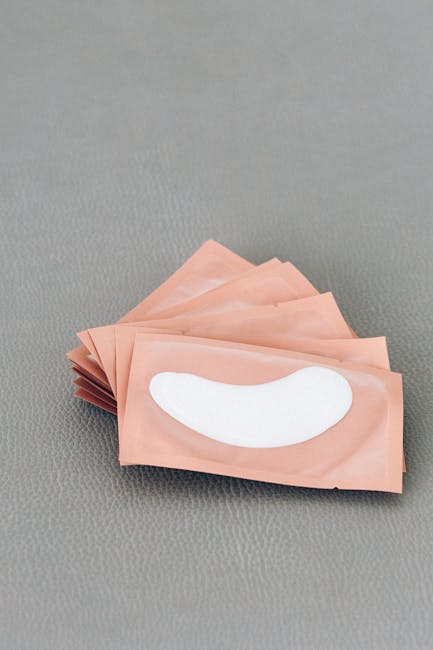
- Additional Costs: Pre-operative medical tests, prescriptions for medications, post-operative garments, and any potential revision surgery (which may or may not be covered).
Important Note: Insurance rarely covers lower blepharoplasty unless it is functionally impairing vision (a topic to discuss in detail with your surgeon and insurance provider).
A Step-by-Step Walkthrough of the Procedure
- The Consultation (The Foundation): This is a two-way interview. You discuss your goals and medical history. The surgeon evaluates your skin quality, fat distribution, muscle tone, and overall facial structure. They will use a mirror to point out specific issues and may simulate results by gently lifting your skin. Photographs are taken for planning and comparison.
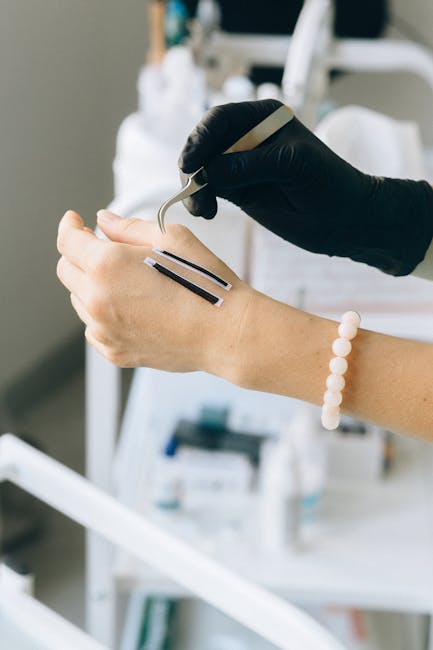
- Day of Surgery: You arrive at the facility, change into a gown, and meet with the surgeon for pre-operative markings. An IV is placed for sedation.
- Anesthesia Administration: You are made comfortably sedated and the local anesthetic is injected to numb the eyelids.
- The Surgical Process: The procedure itself takes 1-3 hours. The surgeon makes the predetermined incisions, meticulously addresses the fat (removing or repositioning), trims a precise amount of excess skin and muscle, and achieves meticulous hemostasis (control of bleeding).
- Closure: The incisions are closed with sutures finer than a human hair. Steri-strips or surgical glue may also be applied.
- Recovery Room: You are monitored as you wake up. Cool compresses are applied immediately to your eyes to reduce swelling. You are then discharged with a companion to rest at home.
Analyzing Before and After Photos: A Critical Skill
Reviewing a surgeon’s before-and-after gallery is one of the most important research steps.
- Look For: Consistency in results, natural-looking outcomes, patients with similar features and concerns to your own, and well-concealed scars.
- Ask About: The time post-op when the “after” photo was taken. Results at 2 weeks look very different from results at 6 months.
- Realism: Understand that these represent the surgeon’s best work. Ask to see a wide range of results during your consultation.
This comprehensive understanding of cost, procedure, and visual evidence will empower you to choose the right surgeon and approach your surgery with confidence and realistic expectations.